|
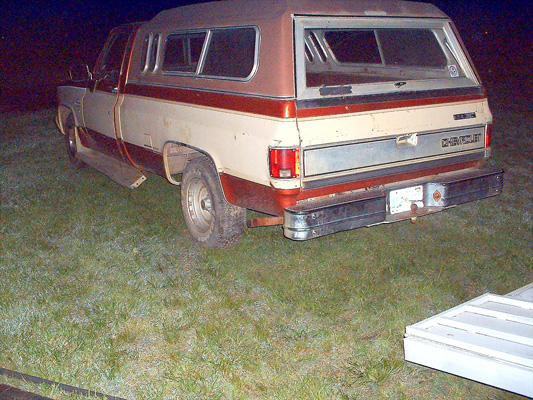
This is how I went about shortening the frame on my 1982 Chevrolet long bed. First, remove the back bumper and unhook tail and tag lights, then remove the 8 bolts holding the bed to frame.
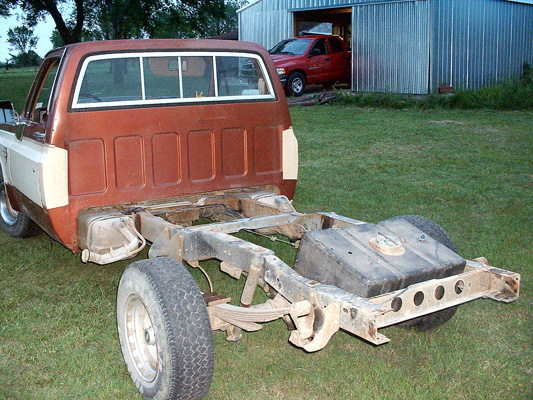
Next, you will need to get it on a hard level surface and remove the fuel tank(s), driveshaft and carrier bearing...but leave rear tires installed. I always cut a piece of 4”X 4” to around 40” or so to place on top of the jack and support the frame. Place jack just in front of the back side of cab, about where the carrier bearing was with 4”X 4” across frame rails and jack it up to just pre-load jack, don’t actually try to pick it up.. Now carefully measure back 6” from back of cross member that supports rear of cab and run masking tape all the way around frame rail. Check it with a square to make sure it’s straight and square to the frame rail. Now measure back 14” and do it again. These tape lines need to be exactly 14” apart ALL the way around. If your using a torch to cut with, use these tape lines and mark it with a silver sharpie or chalk and remove tape, if your going to use a cutoff wheel, just use the tape as a guide. Pull clips that hold any wires or lines in the cut area loose and pull lines away from frame so you can safely cut the frame rail. I don’t bother to remove them, I just get them out of the way. Fire up the torch or grinder, and carefully cut that section of frame out...leaving a little that you can grind to make sure things are square. Roll the rear section into place, being careful not to kink the brake lines, step back and admire your work. You are now committed to this project. Check your fit and grind as needed to get things lined up. Use the jack to level it back up with a square across the top...from front to back, side to side, and up and down. Having the rear section rolling makes this a lot easier. When you get it where your happy with it, tack it in place and check it again in all directions...if it’s still good, weld it all around. Grind the weld off of the top and outside of the frame until it is smooth, then cut a patch out of the section of discarded frame and cap it...welding the patch thoroughly.
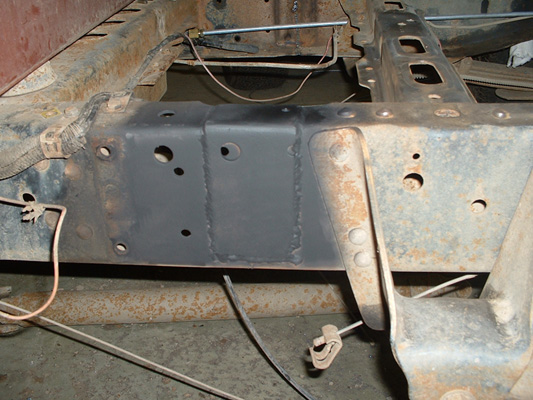
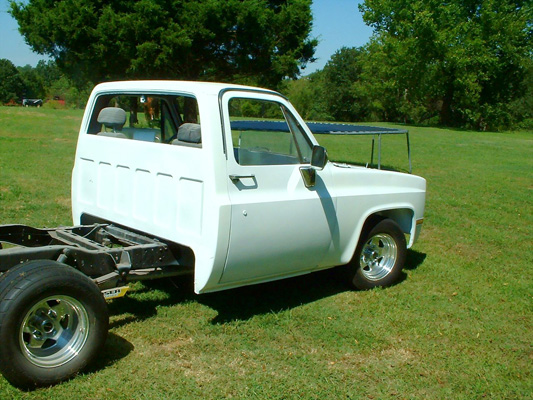
Now for the back, the rear cross member must be relocated. I use the torch and heat the rivets to a glowing red, then take a large chisel and a 2lb. Hammer and knock the heads off the rivets. This prevents frame damage from grinder, but cutting them off with the torch. works good too. Once you get the rivets out and the cross member free, move it forward to the other set of holes in the frame, about 6” forward of where it was and bolt it back in. No drilling is required, all the holes are already drilled in the frame. Now mark the rear of the frame in a similar fashion to what you did earlier, and cut 6” off the back of the frame rails. That basically covers the frame, all that’s left is the reassembly details. Holes will have to drilled in the side of the frame to mount the gas tank brackets. You will need a tank from a short bed truck (16 gallon) to accomplish this, the long bed tank is too big to fit (it is 20 gallons). On this latest one I did, I am using a short stepside bed. All the bolt holes lined up to remount the bed, so again, no drilling was required. You will need to find a short bed drive shaft (or have one built), reinstall the bumper, and hook up lights. You are now finished! Sit back and admire your work.
|