One of my main concerns during the rod-storation of
my truck was I wanted the ride in it to be comfortable and quiet. This would require me to do more than simply
install factory type insulation/sound deadening. I
have heard and read some good things about a product called Brown Bread (BB) and decided
to give it a try. I ended up purchasing the
Brown Bread from B-QUIET, but you can also find it on E-bay for a little
cheaper. The following steps will show you
how I installed this stuff in my truck, and will give you a good idea on what it takes to
install it in yours if you choose to do so. Here is a list of the following items you will need
to do this… Product Tools Optional (for creating templates) The first thing you want to do is to make sure your
cab is completely gutted. This means removing
the seat(s), carpet, insulation, lower trim panels, seat belts, rear speakers if you have
them, etc…basically everything from the dashboard down has to be removed to do a
complete and quality job. Once everything is
removed you should be staring at a bare metal floor with nothing in the way. With everything out of the way, you will now need
to clean the surfaces you will be applying the sound deadening to so they are free of
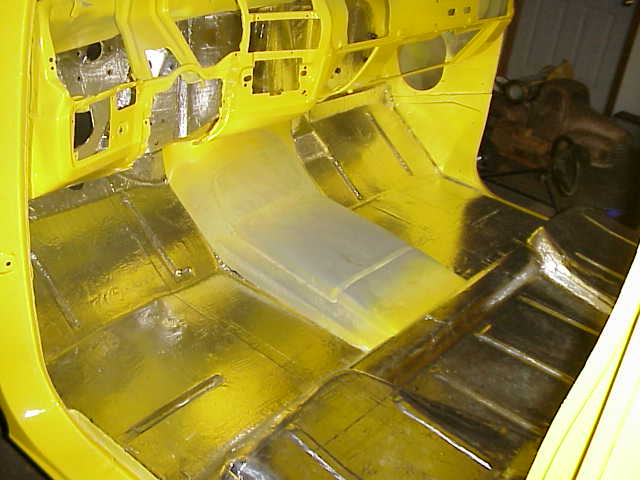
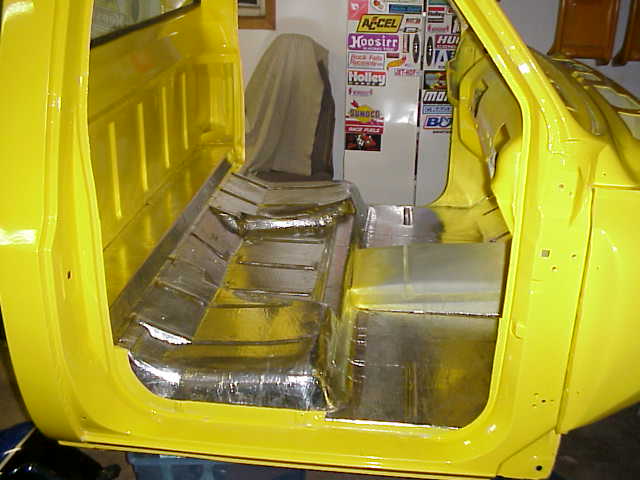
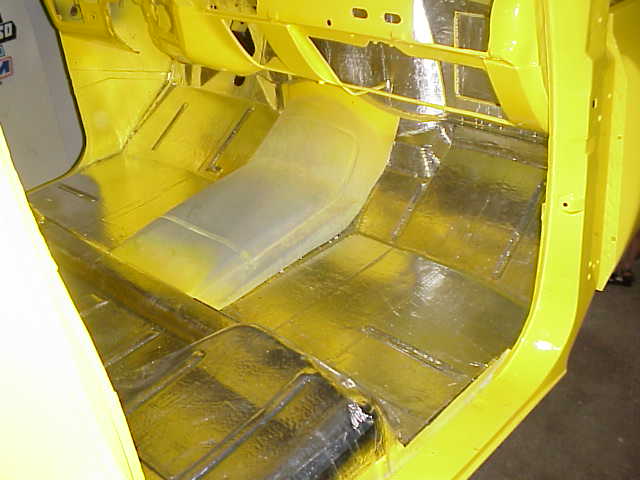
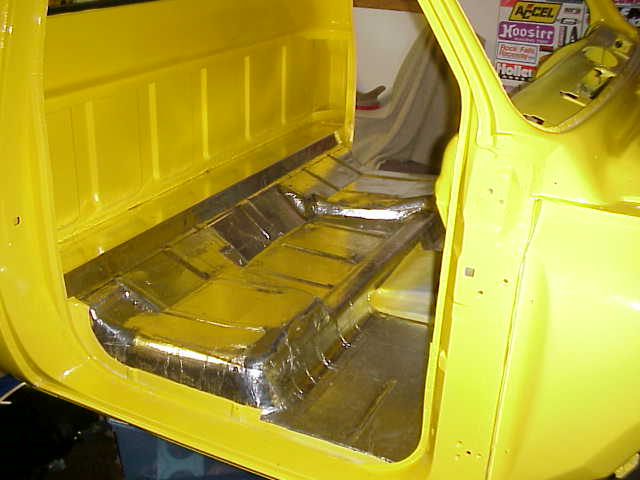
contaminants…contaminants such as oil and dirt for example. Now you are ready to start the installation. There are many curves, valleys, and bumps on the
inside of 73-87 cabs…making the installation tricky and frustrating at times. Because of this, I would (and did) tackle the
hardest areas first. The areas that were the
hardest for me were the hump the seat sits on and the inside firewall. With the hard areas out of the way, the rest is
pretty simple. Installing the BB is pretty
straightforward and self explanatory. All you
really do is cut it to shape, roll it flat with a roller, and apply heat while doing so. Here are a few pointers for actually installing the
BB…
Once you have all the sound deadening installed, it is now time to cut out your seat belt, seat, and any other miscellaneous mounting holes you may have so you can re-install those pieces when the time comes. For this a small exacto or hobby knife works excellent, but beware, the blade will “gum up” fairly quickly and will need to be cleaned or replaced to achieve clean and sharp cuts. Below you will see some photos of the Brown Bread installed in my truck. I have yet to finish the transmission tunnel and below the rear window, but once I get my shifter location determined and the run in the paint wet-sanded (below the window), I will install the BB on those areas and update this page with current photos of those areas. I hope this article will help others who choose to install this product in their truck, Blazer, or Suburban. Once I get my truck assembled and running, I will report back the results.
|